What this is
Instructions for building your own agentic systems.
Start with a fresh server. End with a working agent system.
Here's the step-by-step build.
We'll keep the explanations light and the design the Arch way. If you want more detail on any step, you can always paste it into GPT and dig deeper there.
Who this is for
For developers, technical builders, and the curious. Making your own agentic system is surprisingly simple.
Let's get started.
01 Get a VPS
First, let's get a VPS.
A few good options are Hetzner, Vultr, and DigitalOcean.
A 2GB server will do.
This part is pretty affordable. Expect something around $5 to $10 a month.
Debian 13. Arch Linux works too.
For this example, we'll go with Debian 13.
Note
Take note of your IP address. We'll use it in the next step.
02 SSH in as root
$ssh root@46.224.213.145
Note
You'll use your own VPS IP here.
03 Install opencode
$curl -fsSL https://opencode.ai/install | bash
04 Add an agent user
Start opencode.
$.opencode/bin/opencode
From opencode, make an agent user.
You are root. Add a new user named "agent" with sudo and NOPASSWD.
Allow changes.
Exit opencode.
/exit
05 Switch to agent user
$su agent
Install opencode for the new agent user.
$curl -fsSL https://opencode.ai/install | bash
06 Set permission all
Switch to the agent home directory.
$cd
Start opencode.
$.opencode/bin/opencode
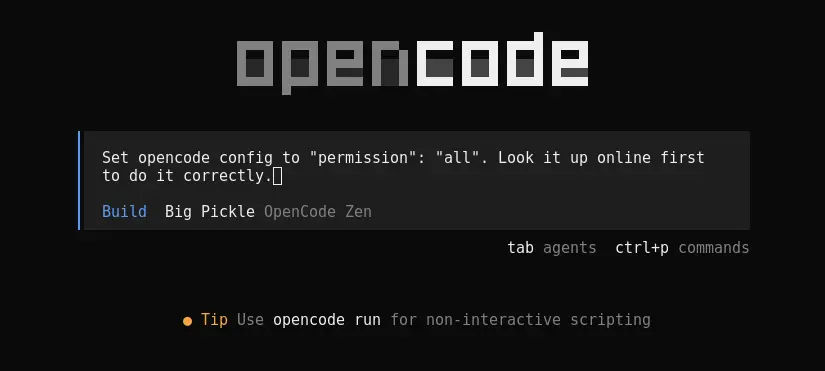
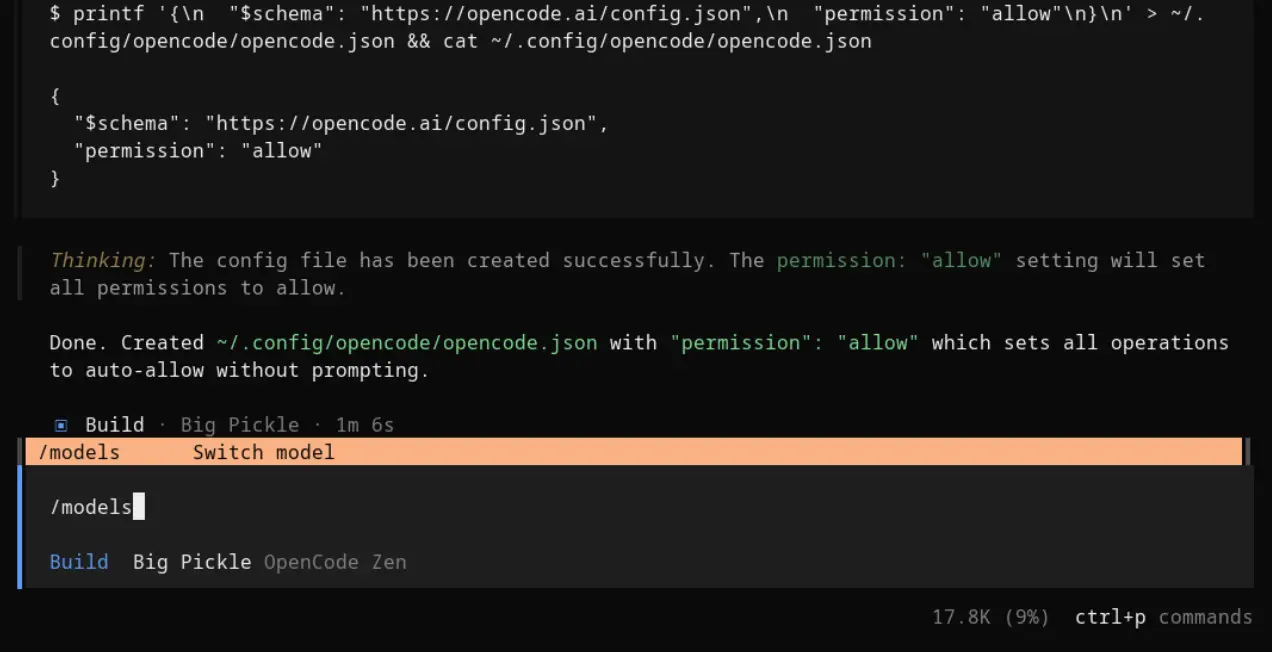
Instruct your agent to set permissions. Allow all changes when prompted.
Set opencode config to "permission": "all". Look it up online first to do it correctly.
Note
When you return to your agent, or if you run source .bashrc now, run opencode to start opencode.
07 Link ChatGPT
Optional: link your ChatGPT Plus or better account with opencode.
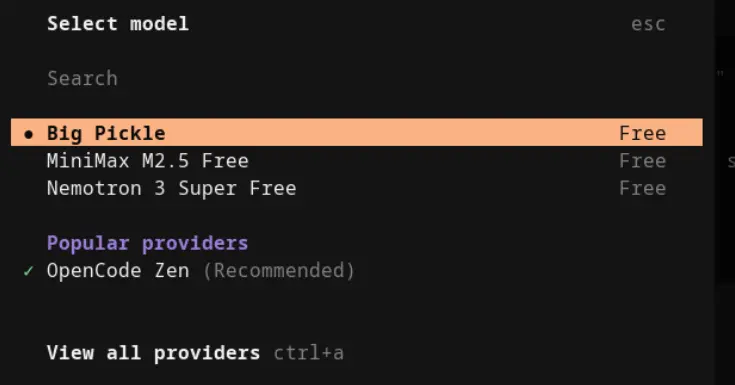
From opencode switch models with /models.
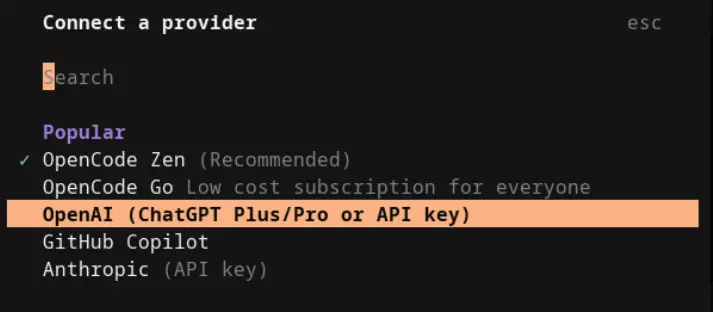
View all providers ctrl+a.
Select OpenAI.
Select headless.
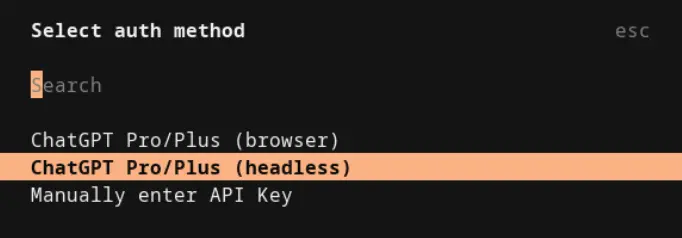
Follow link instructions.
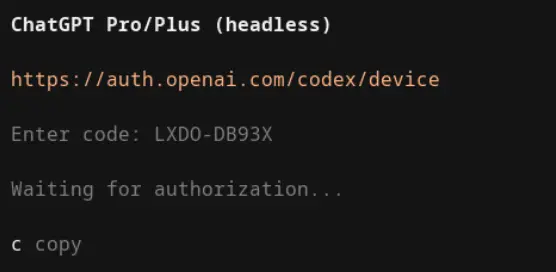
Note
You may need to make a settings change in your GPT account to allow headless type authentication.
Done
That's it.
What to do after install
From here you can use your opencode CLI to shape your system to be or do anything.
Continue here.